Resize or compress an image: what is the difference?
Understand what changes and which approach to use when an image is too large.
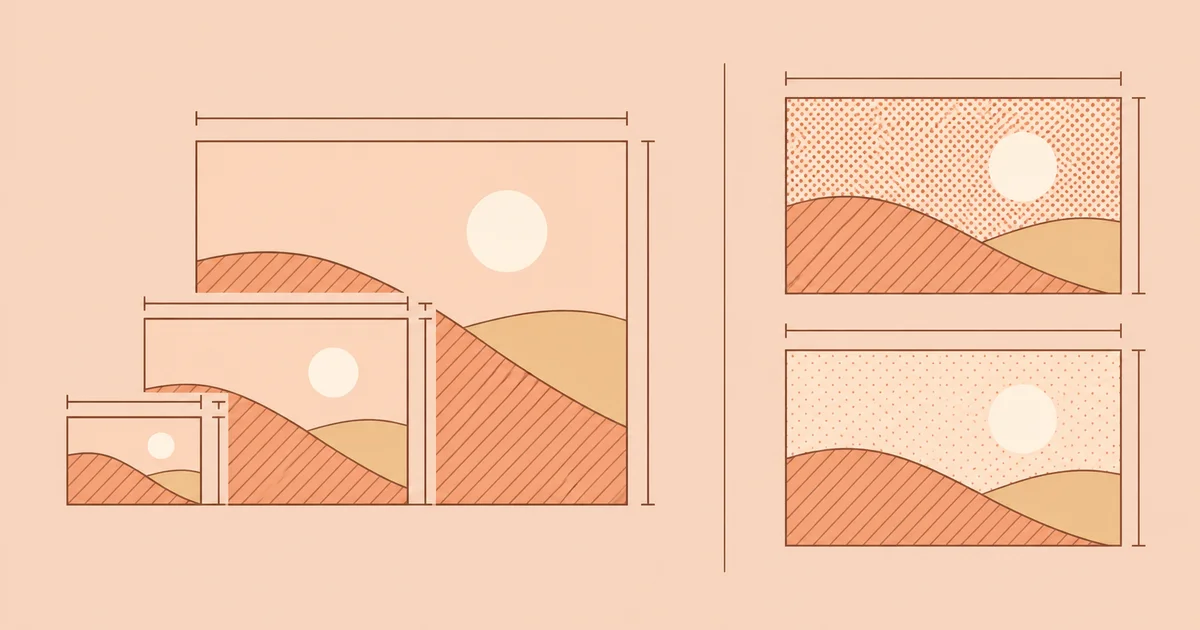
Resizing and compression solve different problems
Resizing changes an image’s pixel dimensions, such as reducing a 4000 × 3000 image to 1600 × 1200. Compression changes how the image is stored and can reduce its file size without changing its dimensions. If an upload limit is expressed in megabytes, either operation may help; if it specifies width or height in pixels, resizing is the direct solution.
You often need both. Resize to the dimensions your destination needs, then compress that result until the file fits while still looking acceptable. Keep the original so you can make a larger version later.
When to resize an image
Resize when the image is wider or taller than the destination requires. A smaller image has fewer pixels to store, so it will often produce a smaller file as well. For example, reducing both width and height by half leaves one quarter of the original pixel count. The exact file-size reduction depends on the format and compression.
Keep the aspect ratio locked when you want the same composition without distortion. If a 4:3 photo must fit a square, simply forcing both dimensions to the same number will stretch it. Crop to a square first, or choose a workflow that adds space around the image.
Enlarging an image adds pixels but cannot recover original detail that was never captured. Check the exported image at its intended size, particularly for text and faces.
When to compress an image
Compress when the dimensions already meet your needs but the file is too large to upload or share. Lossless compression preserves pixel information. Lossy compression discards information to save more space and can introduce blur, blocks, or halos around edges.
There is no universal quality setting that works for every image. A simple illustration and a detailed landscape may respond differently. Compare the result with the original, especially in gradients, small lettering, and fine textures.
Repeated lossy exports can accumulate damage. If the result looks poor, return to the original rather than trying to repair the already compressed copy with a higher quality setting.
How to prepare an image for a size-limited upload
- Read the upload requirements: accepted format, maximum bytes, and any minimum or maximum pixel dimensions.
- Keep an original copy. Crop first if you need a different composition or aspect ratio.
- Use the image resizer to set the required dimensions while preserving the aspect ratio.
- Use the image compressor on the resized result. Compare quality and file size after each export.
- Open the downloaded file and check its dimensions, file size, and appearance. Test it in the destination.
What if the image is still too large?
Check whether the destination permits a different format. A PNG photograph may become much smaller as a JPG, while transparent graphics need a format that preserves their background. The format comparison below explains those tradeoffs.
If you must keep exact dimensions and a particular format, try a more compressed export and inspect the result. If acceptable quality still cannot fit the limit, revisit the destination requirements instead of repeatedly compressing the same file.
Changing a filename extension does not convert an image. Use an image converter when switching formats, then verify the downloaded file. Always keep a version that looks right as well as one that fits the size limit.
Related articles
Useful tools
Image resizer
Resize images in bulk by pixels or percentage. Keep proportions and the original format, then download individual files or a ZIP.
Image compressor
Reduce image file size in bulk with automatic settings. Keep the format and dimensions, compare savings and download a ZIP.
Image cropper
Crop photos to exact pixel dimensions or an aspect ratio. Frame a square, portrait or landscape image directly in your browser.